DIY ideas
You will be busy with an interesting and useful activity for a while!
New posts
New video! Don't miss it!
Patinka Man patiko!
44
Patiko
straipsnis? Man patiko!
straipsnis? Man patiko!
44
2013 June 24
Teksto autorius: Evelina
Do it yourself ideas for your home which will not result in cost, will be original and you will be busy with an interesting and useful activity for a while! Some of them you can definitely fulfill outside, you just need to have a small patch of green area – after all, it gives much more pleasure to work outside in a summer time and, moreover, you can decorate your home!
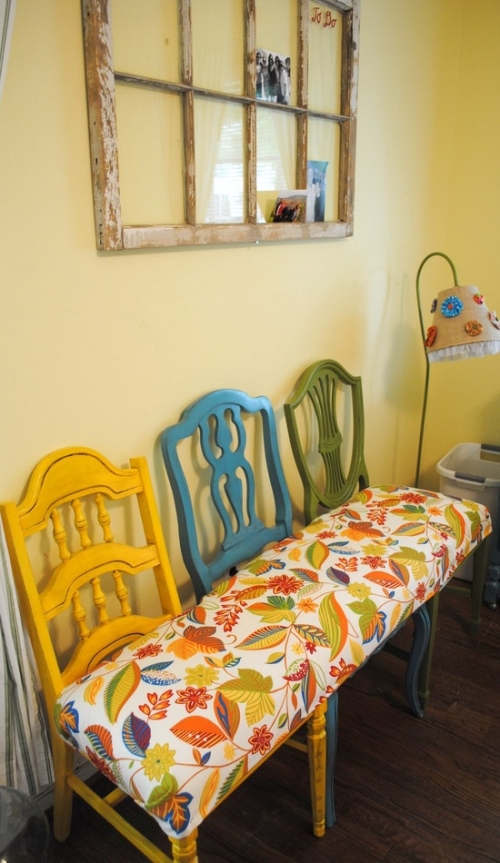
DIY 1!
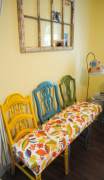
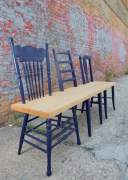
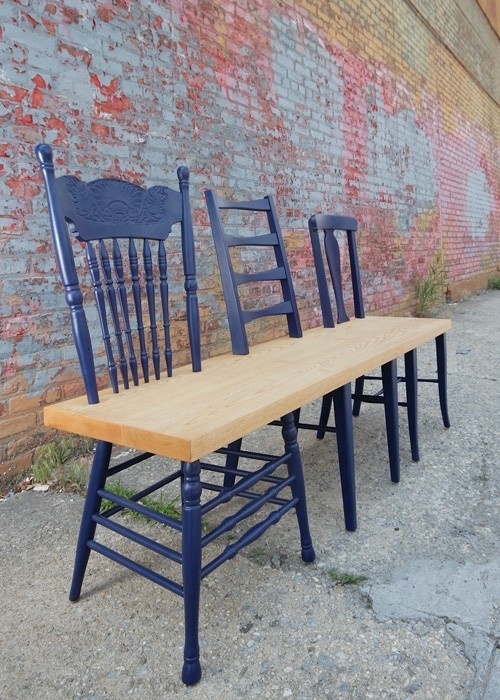
Chair-bench. Various versions made of different textile, different design of a chair, etc. are possible. You will have a functional and original piece of furniture.
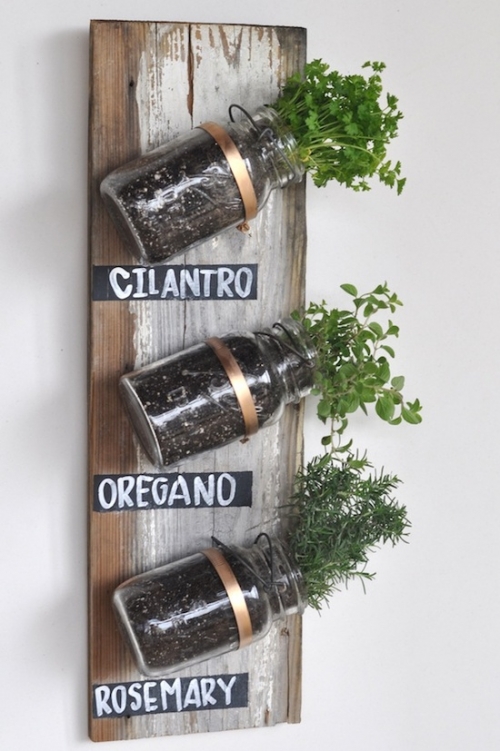
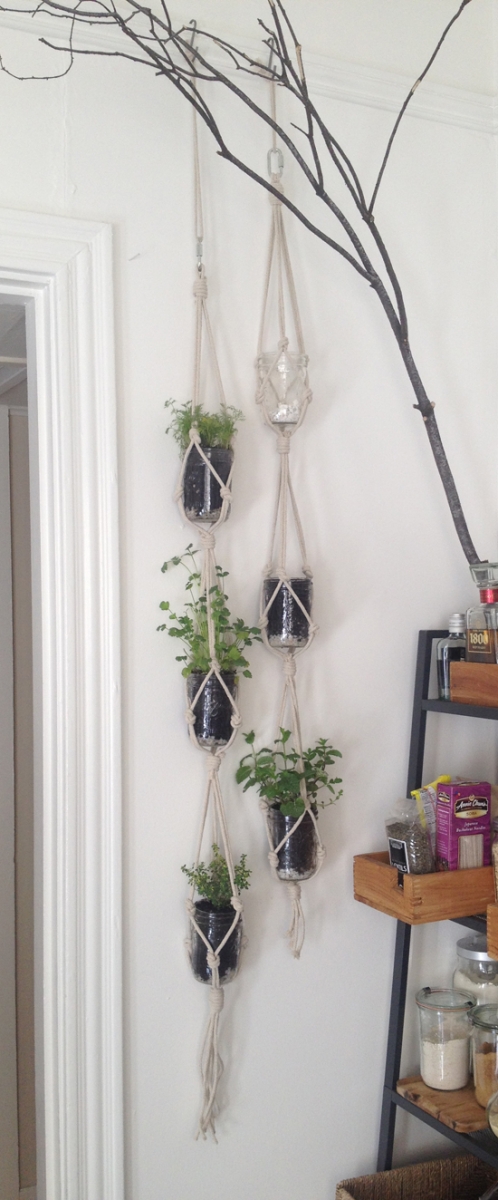
DIY 2!
Hanging herbs. Although herbs seated in vases on windowsills look really nice, these versions are much more interesting and undoubtedly exclusive.
DIY 3!
Rope basket.
You will need: rope cord and thread;
What to do:
1. Start by winding your cord into a tight spiral. You’ll want to start with the rope end on the left side, and wrap your spiral going clockwise.
2. Set your sewing machine stitch to zig zag, then start sewing your rope from the center, where the rope end is. Make sure you’re sewing the edges of the rope together, otherwise you end up with gaps in your basket;
3. Once the spiral is large enough, tilt your bowl and sew the rope at an angle. If you want a bowl with perpendicular sides, tilt your bowl 90 degrees. For a shallower bowl, tilt the bowl at a shallower angle. This part was tough for author, so she had to do it over a couple times before she got it right. Practice makes perfect…right?
4. Keep sewing, until your basket reaches the desired height. To make a handle, mark off equal areas on your basket, and skip that portion when you’re sewing. Then on the next round, incorporate the rope back into the basket as the next layer. When you make a handle, you’re essentially making a hole in the basket, where the rope isn’t sewn.
5. Other steps: use your imagination!
DIY 4!
A lounge chair made of wood logs. It is not necessary to sit on this kind of piece of furniture – it is nice just to see it! :)
DIY 5!
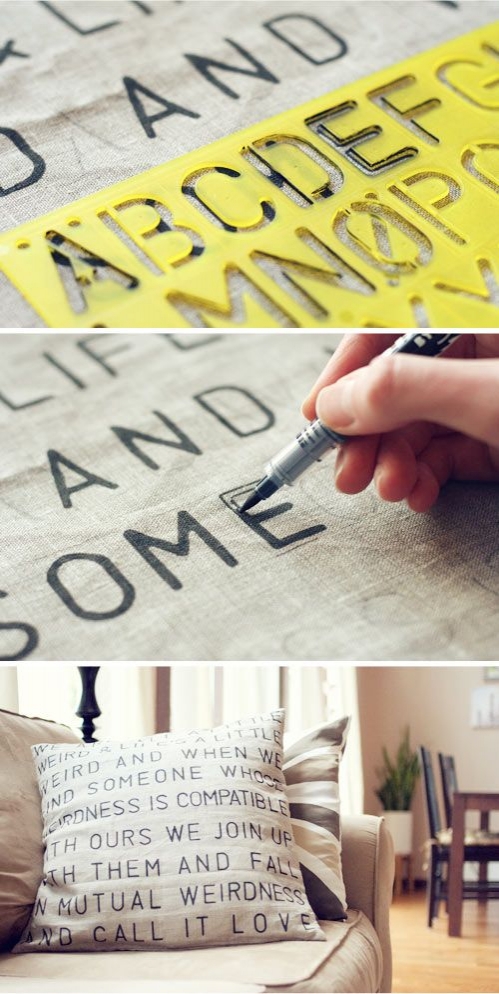
Pillows. The choice is huge here. There are hundreds of examples with DIY pillows, therefore, I am uploading just one of them.
You will need: a piece of paper, template, pencil, pocketknife, paints, brush, piece of fabric.
What to do:
1. First decide what size and shape of throw pillow you want. Then cut out a sheet of freezer paper that is roughly the size of the pillow case. From there, drew the design you want right onto the freezer paper.
2 - 3. After the drawing is complete, began cutting. To do this, place the freezer paper over a self-healing mat and then use a knife to cut out the design. Intricate designs like this take a little bit more time but are worth the pay off in the end, so hang in there :).
4. After cutting, iron the paper (shining side down) onto your choice of fabric (in this case, it's linen).
5. Once the freezer paper is securely ironed onto the fabric, you can begin painting. Be sure to place a card board box or something similar underneath so that the paint doesn't bleed through to the surface below.
6. Once you have painted all of the necessary areas, set it aside and let it dry. Some recommend letting it dry over night before taking the stencil off. Author waited for 1 hour.
That's all, you now can see the pillow!
Teksto autorius
Other Evelina's posts
Teksto autorius
Other Evelina's posts
Related posts
Copyright © 2012-2025 E-interjeras.lt












Comments